
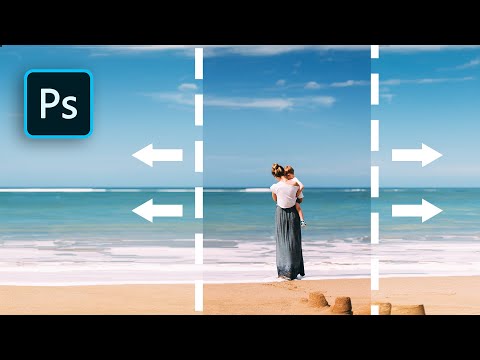
If you’ve found the perfect image for your social media post or advertising template, but its form factor is too small or even large, and you’d like to make the skies or other background area wider and bigger, don’t despair – it’s very easy to do with Content-Aware Scale feature in Photoshop. Follow this tutorial to do content aware scale in Photoshop quickly without damaging the image quality.
1. Open the Image

To use your image in Ps, find Open in the left column and click on it. File Explorer will appear in front of you if you are using Windows or Finder in the case of macOS. Next, just find the folder where your picture is stored, and double-click on it – the file is open.
2. Unlock the Background Layer

The background image layer is locked by default, which means that it cannot be moved up and down in the stack. However, you can easily fix it and unlock a layer.
First, you should find it in the layers palette. Then one click on the padlock icon and you’re unlocked the layer. There is also an alternative method – highlight the layer and press “/”. In older versions of the software, you usually need to double-click on the symbol.
3. Select the Area You Want to Protect
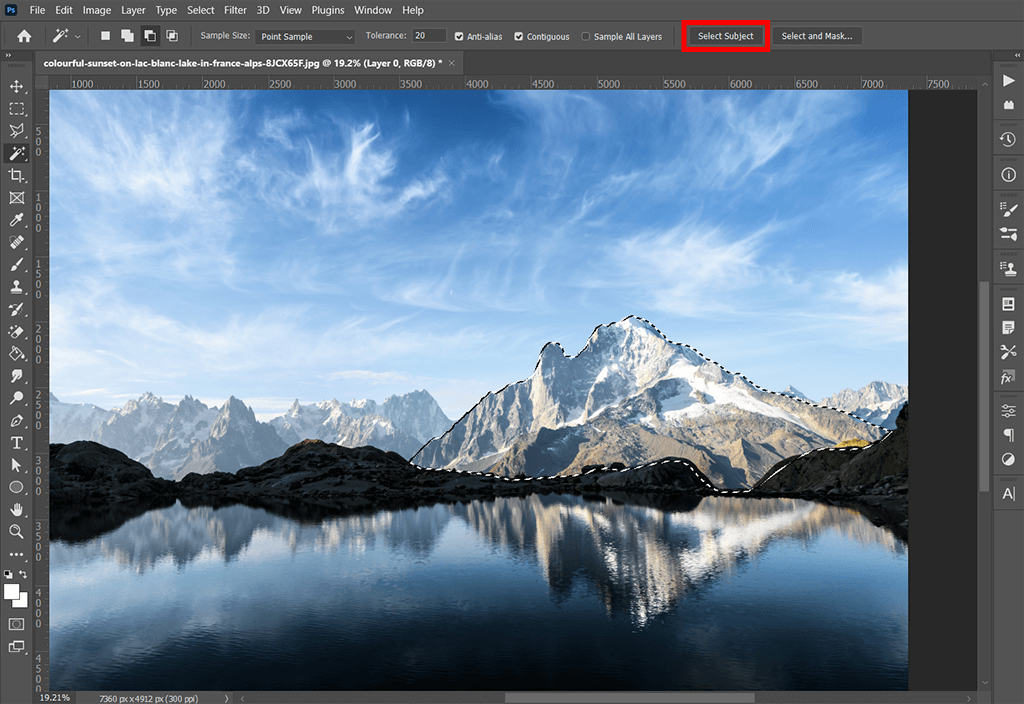
You may need to leave some parts of the picture intact. For such cases, the developers have provided an alpha channel in Content Aware Scale Photoshop, which will protect these parts while resizing. To make it work, first select the area that you want to leave unchanged, using any suitable tool you like.
I recommend using Magic Wand in Photoshop as I find it the fastest and most convenient. You can also try Quick Select if you’re working with the sky, followed by an invert to aim for the foreground. Don’t spend a lot of time trying to get everything perfectly selected down to the last pixel – you don’t need to, as you just need a target to make everything work like clockwork.
4. Save Your Selection

Save the selection as a channel via the channels panel or Select/Save Selection. It helps in renaming the channel now to find it further in the following steps. To make it faster, deselect with Photoshop keyboard shortcuts, just press Ctrl/Cmd>D. If you leave the selection active, you will only transform the selection area and will not get good results.
5. Expand the Canvas

When you enlarge a picture, you should also expand its canvas. Imagine it’s a piece of paper with a picture on it. Your canvas is a place for future content, which means it needs to be expanded to fit. Without expanding the canvas, you run the risk of making this part invisible because it will stretch beyond the edges.
You can expand the canvas in any convenient way. I prefer the Crop Tool as it is the simplest way to do. In addition to being perfect at cropping an image in Photoshop, it also does a great job of expanding. Be careful and don’t forget to remove all existing cropping ratios and sizes from the Context Sensitive Toolbar. The “content-aware” flag should also be left blank.
If the target aspect ratio is important, go to Crop Box and set the desired value. Thus, visual cropping in one dimension, when expanded to fill another one, will be available.
6. Bring Up the Content-Aware Scale Window

Open the Edit menu and scroll down to find the Photoshop Content Aware Scale feature.
7. Choose Your Selection to Protect
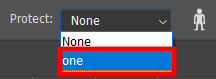
Click on the “Protect” option and choose saved selection instead of “none”. On this panel, you can also use other handy options:
Protect Skin Tones is used for preserving areas containing skin tones.
With Reference Point Location, you can indicate the fixed point. Scaling will be performed around this point. This point is the picture center by default.
Use Relative Positioning for Reference Point is used to specify the new location of the reference point relative to its current location.
Reference Point Position locates the reference point at a specific place. You just need to set X-axis and Y-axis pixel sizes.
Scaling Percentage indicates the picture scaling as a percentage of the initial size.
Amount indicates the ratio of content-aware scaling relative to normal scaling.
8. Scale the Image

Shift-click and drag to perform picture scaling with no limitations to the initial proportions. I recommend being careful with artifacts of significant resizing, in particular, in the main object or parts that will be difficult to clone.
I also advise you to look at the comparison of the results with the parameters “Protect”, “None” and others. They may give different results, and any of them may suit you. This is especially useful for those who are just starting to master different Ps techniques or those who need to edit a complex picture. After playing around with and choosing the most suitable result, click on the checkmark.
