

Before you put out your NFT for sale or connect your crypto wallets, it’s important to ensure your file has the correct content credentials. They will help you verify the authenticity of your work once you share it on different NFT platforms.
Previously, if you wanted to learn how to use content credentials in Photoshop for NFTs, you had to perform complex manipulations. Nowadays, the latest version of Photoshop lets you easily specify credentials, and connect social media accounts and cryptocurrency wallets. In just 6 clicks, you’ll prepare your NFT for publishing.
STEP 1. Open the File That You Want to Attach Content Credentials To

Open the image that requires content credentials in the latest version of Photoshop. It can be saved either in JPEG or PNG format. You can also simply drag the image onto the editor or repeat the actions shown in the screenshot. Click on the “File” panel and then press “Open…”.
STEP 2. Go to the Content Credentials (Beta) Window

Once you open the image, find the “Windows” panel in the toolset menu and open the “Content Credentials (Beta)” tab, which is the main window you’ll have to use for adding Adobe Content Credentials Photoshop NFT Adobe to your file.
STEP 3. Add All Necessary Checkmarks
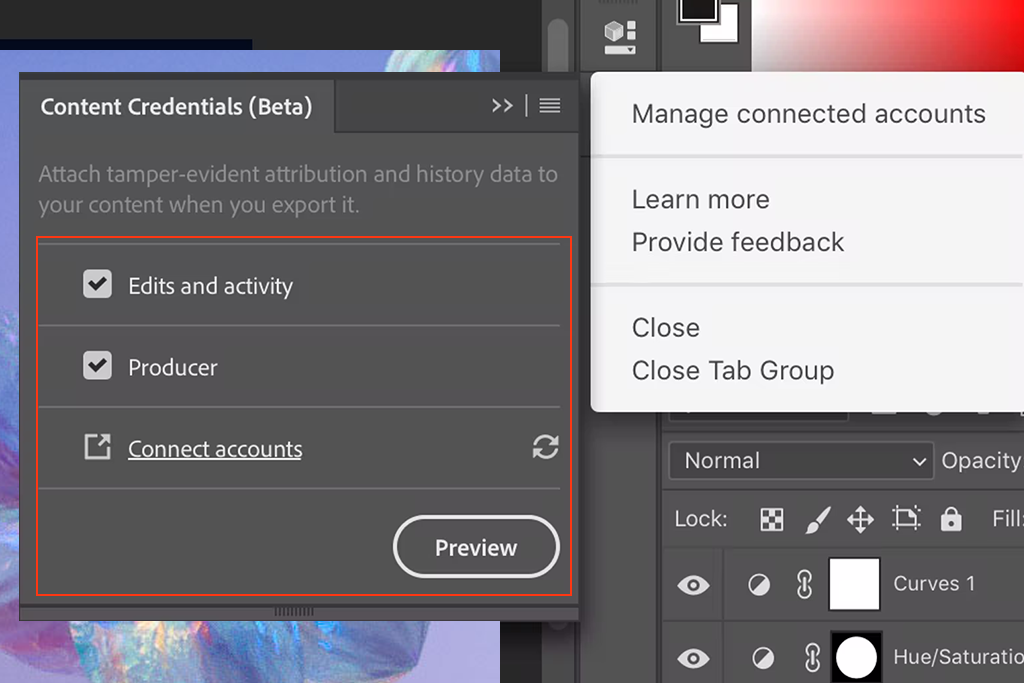
Add two checkmarks to the available options in the opened menu. This will help you add credentials to your NFT while making you its copyright owner.
STEP 4. Add the Necessary Social Networks and Crypto

Once you’re in the next menu, it’s time to type in your personal data, full name, company name, or penname, specify your social media profile or personal website, etc.

A little lower you’ll be able to choose which cryptocurrency you want to tie to your NFT and add your wallet. This will help marketplaces quickly retrieve your contact data and payment methods later on.
STEP 5. Prepare the File for Export

The next step in adding Adobe content credentials NFT Adobe ID involves preparing the file for export. Here you have to specify the image’s quality and its dimensions. You can also check and tweak the file’s metadata if needed.
STEP 6. Save Your Work and Check the File’s Content Credentials

Once you save your work, you can check all the added data and later go to your chosen NFT marketplace to mint your image. Nowadays, the list of the most relevant marketplaces includes platforms like Opensea, Superrare, Rerible, and Knownoringin.
These marketplaces can read and show the content credentials of the image you’ve just created and tie the crypto-address to your wallet’s ID. If they match each other, they will be recognized by the platform and your NFT will be shown to potential buyers.