
Check out this quick guide on how to use the Smudge tool in Photoshop if you want to figure out how to smudge color pixels, create unique backgrounds, and embellish plain walls in photos.
STEP 1. Upload a Photo

Open your JPEG or RAW image in Photoshop. Select the Finger tool in the left part of the toolbar or activate it by clicking R.
When you create a smudge in Photoshop, it resembles the effect you get when dragging a finger through wet paint. The instrument picks up the color where the stroke begins and pushes it in the direction of your finger.
STEP 2. Refine Brush Action

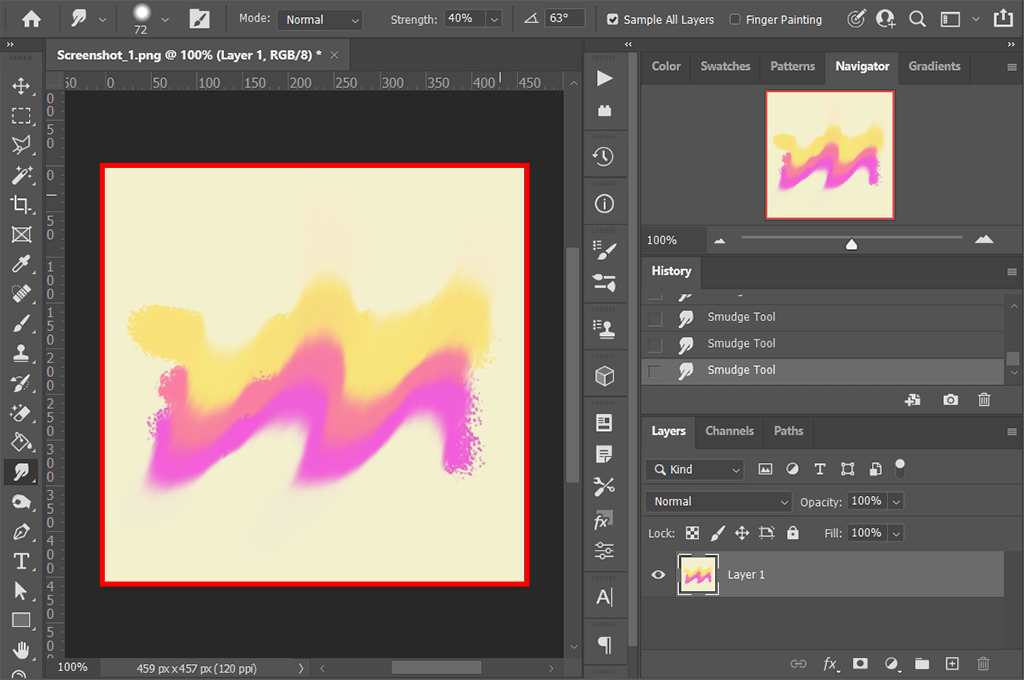
There will appear the menu, where you need to choose the brush tip suitable for your current task. You should also specify the Blending Mode and its Options in the Options Bar (сheck out the screenshot). Choose the needed sizes based on the background you want to blur.
Keep in mind that you can zoom in or out to work with fine details when using Smudge Tool Photoshop. To do this, press Ctrl and “+” or “-“.
STEP 3. Select the Smudge Settings

Check the “Sample All Layers” box at the top of the toolbar as in the sample. This way, you can use color data from all visible layers for smudging.
If you want to use only the colors of the active layer, uncheck this box.

Select “Finger Painting” in the Options Bar to smudge the foreground color at the start of each stroke.
Uncheck “Finger Painting” to use the color under the pointer at the beginning of each stroke.
STEP 5. Create a Unique Background

Once you set up your brush, you can start blurring the background of your image. Place the brush on the desired area and drag it smoothly to blur pixels.