

Many guys want to make their muscles more defined in pictures. If you are wondering how to make your muscles look bigger in Photoshop, use this simple method. Even inexperienced retouchers can cope with this task without problems. This step-by-step tutorial will tell you about the most effective ways for getting an attractive, physically fit body in just a few clicks.
STEP 1. Load an Image and Duplicate the Main Layer
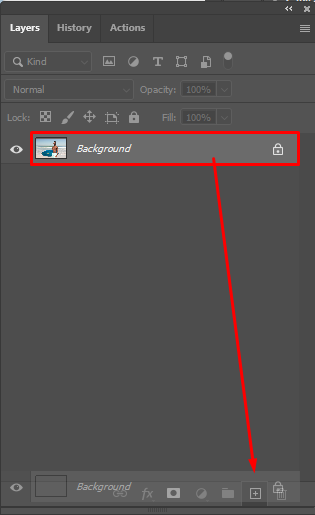
Open the source picture in Photoshop. Then, go to File –> Open. Find your picture and double-click on it. You can also drag and drop the image directly to the workspace. In the Layers menu, duplicate the main layer. You can also practice working with layers in other layering photo apps.
If you find it difficult to perform professional retouching, we advise you to address the professional retouchers from the FixThePhoto team. They will easily make your portrait perfect, get rid of visible defects, even out the skin tones, whiten the teeth, etc.
STEP 2. Remove the Background From a Photo
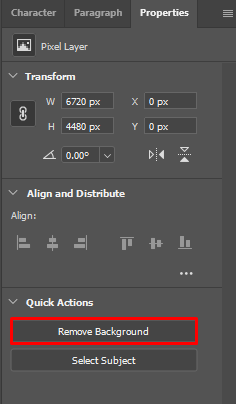
Open the Properties panel and click on the Remove Background option. A layer with a mask will be created there. Check out the detailed tutorial that shows how to remove the background of a picture in Photoshop in several clicks.
The tone of the skin shouldn’t blend with the background. If it happens, the program might remove the backdrop incorrectly. In this case, you will need to remove or add some pixels or edit the area that has not been outlined correctly when the object was automatically selected.
STEP 3. Another Way to Remove the Background From the Image

If you do not have a tool described in the second step, then you can try to make muscles look bigger in Photoshop with the help of the Object selection tool or use other background removal software. You can find this option on the left side of the toolbar or open it with the hotkey by pressing W.
STEP 4. Start Applying Filters
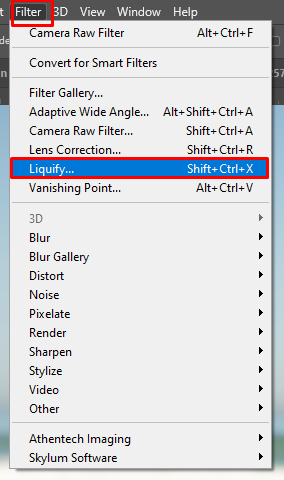
Open the ?Filter? menu and choose the ?Liquify? filter.
STEP 5. Make the Muscles Bigger

To make muscles look bigger in Photoshop, you can use the ?Forward Wrap Tool? or ?Bloat Tool?. The former allows you to extend the area under your brush. The latter functions like a magnifying glass in a sphere/ball.
STEP 6. Pay Attention to the Proportions

When making the muscles bigger, you should try to keep the proportions natural. If you are increasing the biceps, then you need to increase the shoulders and forearm too (as shown in the photo above).ant to get a top-quality photo, use these Photoshop actions developed by professional image retouchers. With the help of these filters, you can quickly get a natural-looking picture featuring a perfect body.