

If you’re looking for a comprehensive guide on how to use the marquee tool in Photoshop, this article is what you need. It is enough to know its basic functions to make the most of this feature when editing in Photoshop.
This detailed tutorial shows how editors can benefit from this impressive option to solve issues with ease and in a flash.
STEP 1. Open Your Image
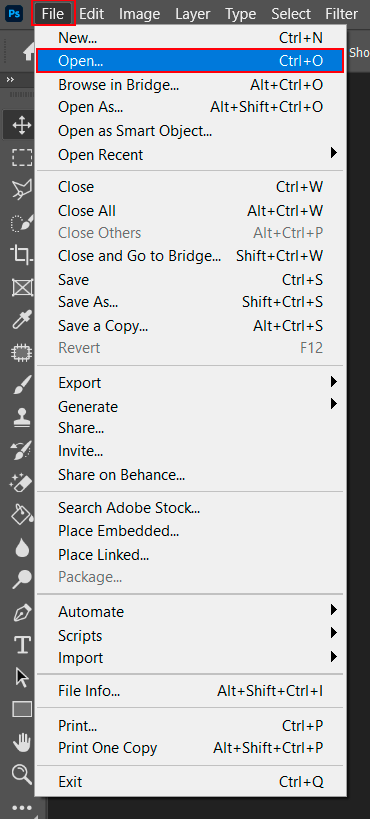
Launch Photoshop and upload the required image to it. There are two ways of fulfilling this command: use the Open option or create a new layer and then drag the picture (in our case several pictures) there.
STEP 2. Choose Marquee Tool

Head to the Tools panel and find the Marquee tool, which is in the second position, right after the Move tool. If you haven’t used this editor before and do not know Photoshop tool names, just hover your mouse cursor and the program will prompt how this or that function is called. There are four versions of the Marque tool and to view them click with the left mouse button. In the context menu, find the needed option and choose it.
Besides, it is possible to switch from one version of the tool to another by pressing the Shift-M keys. It doesn’t really matter, which shape you choose, because the circle does the same what does the Rectangular Marquee tool do in Photoshop.
STEP 3. Set the Desired Shape and Size of the Selection Tool
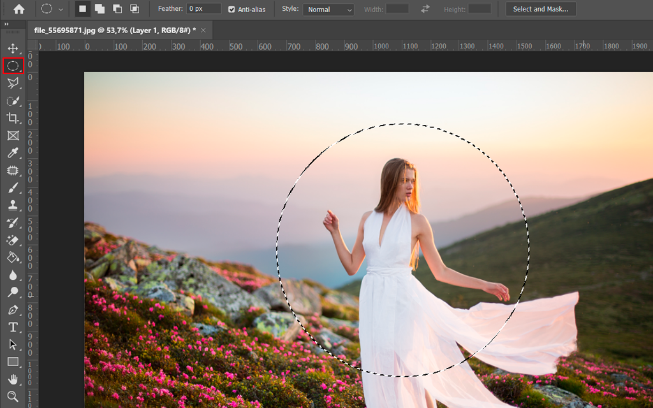
Choose the image section you need to edit. Position the mouse cursor where your selection should start, click, hold the left mouse button, and pull the box to the desired extent. Click, and hold down the mouse or Wacom pen in case you are working on the Wacom tablet, press and release the Shift key – these are the only operations you need to fulfill to outline the necessary image area.
Hold Shift if your selection should have a round or rectangular shape. Click and drag to choose a one-pixel line for other forms.
STEP 4. Head to the Top Menu of the Tool for the Necessary Commands

Once the Marquee tool is selected, you will see the new set of features at the upper edge of the screen. With them, you get plenty of opportunities to crop an image in Photoshop or add to selection, subtract or intersect from the selection. The feather tool allows controlling what part of the selection beyond the line you indicate will be blurred.
Anti-alias box defines whether the edges of the selection are too sharp and need to be smoothened. If you are working with images of poor resolution, this setting is a real lifesaver. With the Style falling menu, configuring how a shape unfolds when using either an elliptical or rectangular tool is a no-brainer. There are two possible ways: the selection can go exactly the way you show with a mouse cursor or you can set the desired width and height of the box to outline the required area.
STEP 5. Choose the Mask

To crop an image in a circle shape, choose the mask in the Layers panel so that the selection remains, and the rest of the picture disappears. Thus, you can cut any part of the picture in a geometrically correct shape.