
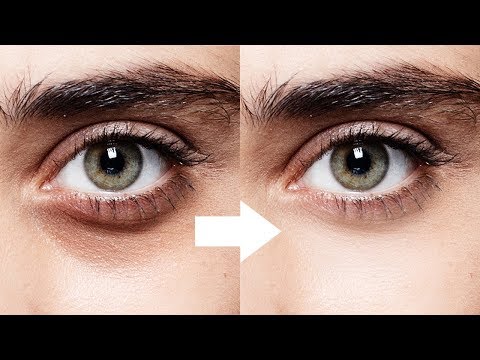
Sometimes it happens that before a photoshoot you didn’t have enough time to apply proper makeup to cover dark circles under the eyes, or a photographer chose unsuitable lighting, and as a result, the bags under your eyes become noticeable in images. If that is your case, check out this step-by-step tutorial on how to remove dark circles under the eyes in Photoshop, and enhance your portraits in a few clicks.
STEP 1. Select the Patch Tool
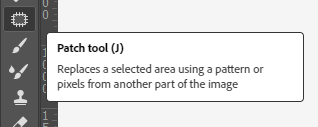
Open Photoshop, upload the photo where you want to fix the dark circles under the eyes. Then go to the left tools panel, find the “Patch Tool” or use the “J” hotkey.
STEP 2. Stroke the Dark Circle Area Under the Eye
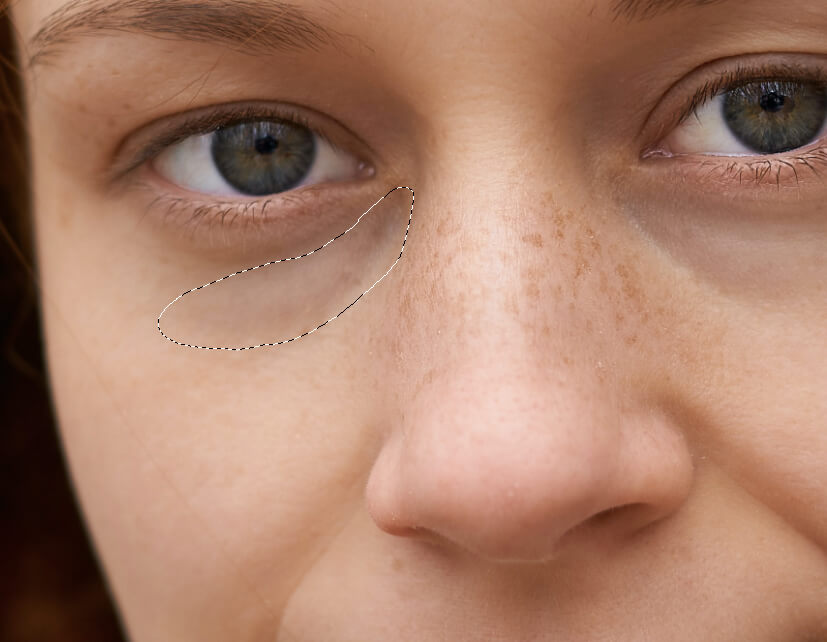
The next step on the way to remove dark circles under eyes Photoshop is to zoom your photo with the “Ctrl +” combination, Ctrl and mouse wheel scroll, or touchpad gestures, and draw a precise stroke on the area you want to edit.
STEP 3. Select an Area with the Suitable Hue
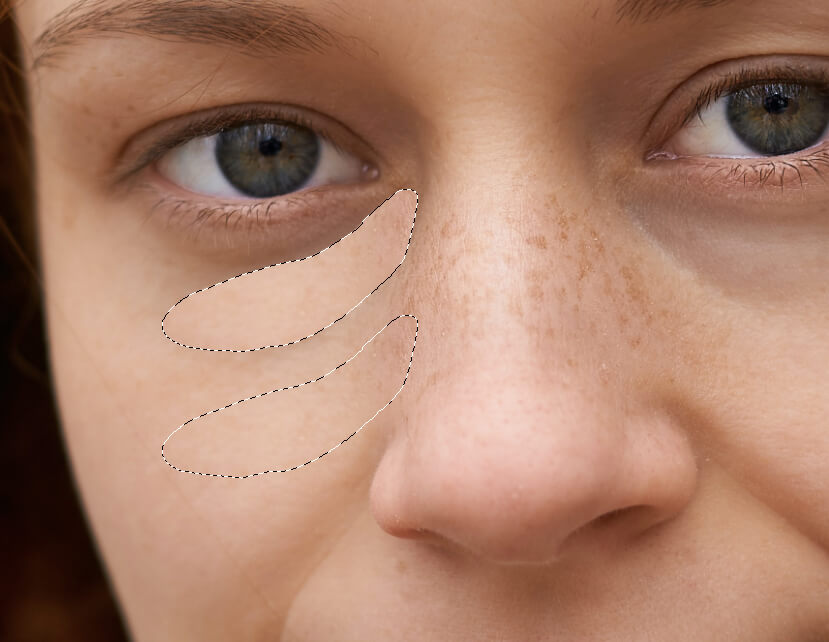
After you have successfully outlined the dark area under the eye, hold down the left mouse button on the selected area and drag it to a more light-balanced area of the skin, just a bit below. This way, you will even out the skin tone. Now you just have to do the same with the other eye.
STEP 4. Make Final Adjustments in Layers
Make the layer you’re working on a little more transparent so that the result looks more realistic. Then merge layers, save your project, and you’re done – now you know the first method of how to remove bags under eyes Photoshop.
Remove Dark Circles Under Eyes Using Customized Healing Brush
If you want to perform pro-grade precise photo retouching, you’ll need to use the Healing Brush tool. By using this method, you will have more control over your skin tone.
STEP 1. Select the Healing Brush Tool
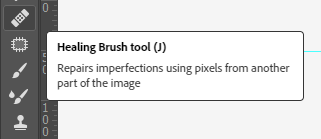
Load the desired photo and find the Healing Brush tool on the left of the toolbar, or use the “J” hotkey.
STEP 2. Adjust the Brush

Next, perform a small adjustment of the brush, but I should mention that the standard settings, as shown in the screenshot, may be enough. Copy the main layer and start sketching the needed area on it.
STEP 3. Lighten Areas Under the Eyes

When the brush is set up and you have copied the layer, find the area you need by zooming in. Next, paint over the bags under the eyes, like performing strokes. Repeat the same procedure under the second eye.
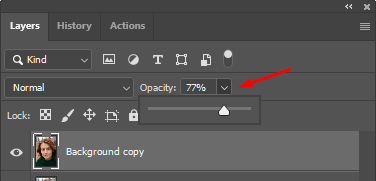
STEP 4. Adjust Layer Opacity and Save the Project

Go to layers and make the layer you just worked on a little more transparent to soften the effect of the editable area. You can do this using the “Opacity” slider. Merge layers using the “Ctrl+Shift+E” key combination and save your project in the desired format. Also, you can transfer a photo from Photoshop directly to Lightroom to perform the further correction.

If you don’t like the result, or you don’t have time to enhance hundreds of photos, following this method, then you can always contact FixThePhoto retouching experts who will help you fix Photoshop dark circles under the eyes in your pictures promptly and at an affordable price.