WB (White Balance) is a principal criterion of digital photography, and represents a shades’ set of white areas, so you have to know how to adjust white balance in Photoshop in a proper way.
In regards to your aim and the type of photography, the white on the image can be colder or warmer, with a blue or yellow shade.
Your gear includes pre-built white balance parameters that automatically alter the picture color for you, and you are also able to adjust the temperature on your own.
In addition, you can further customize your files in post using Photoshop or other photo editing software.
What Photographer Must Know about the White Balance
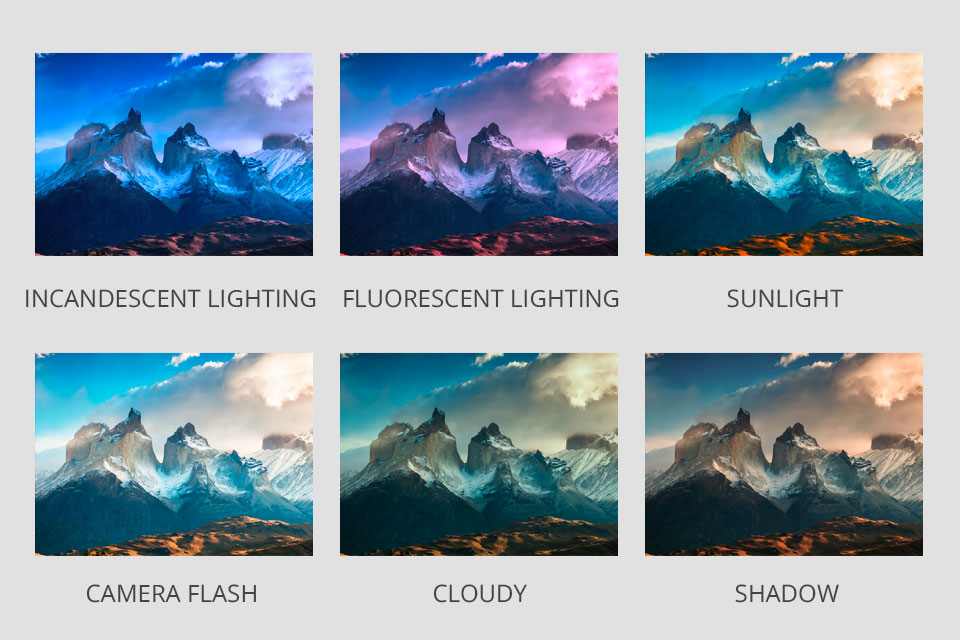
Diverse lighting settings generate various temperatures. If you take photos with natural light from an overcast sky, your images will have a cold color temperature, more of a blue shade.
Taking photos in unnatural glittering light with your common tungsten light bulbs produces a warm color selection, one that looks like yellowish or orange. Taking images employing diverse kinds of fluorescent studio lighting kits can give your photos a green hue.
In order to establish a good in-built white balance when taking pictures, take into account the following factors.

Take photos in the RAW. This file type keeps all the info from the photo captured by your camera’s sensor, which will provide you with more agility for after-processing.
Deploy a gray card. A gray card, or white balance card is a square of material with special hues at 18 percent gray. This instrument enables you to find a n immaculate white balance for scenarios where being precise is the final aim, just like product photography or food photography.
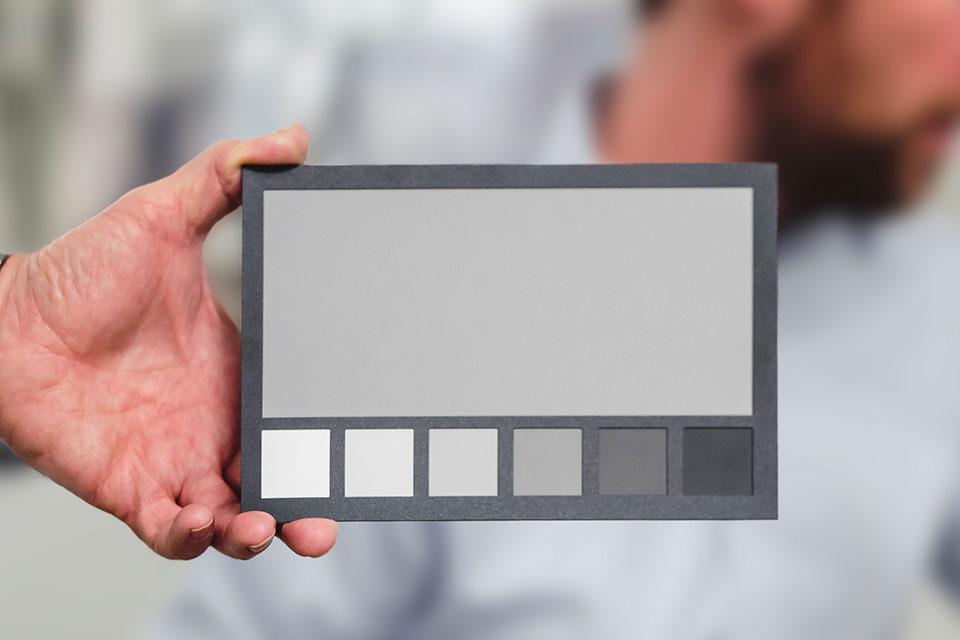
To produce a white balance with the help of a gray card, select the card that fits the entire frame. Then in your camera’s menu, opt for setting a custom white balance, and customize it by selecting your photo of the gray card.
Goal for consistent lighting. Taking pictures with wrong light sources will make it more difficult to change white balance in Photoshop while post-editing. Therefore, try to add as much smooth lighting as possible, which will equally fill the whole shot.
How to Fix White Balance with Photoshop
White balance is thought to be the easiest photo setting to adjust. Thus, at the beginning, you need to install the software, in case you do not have it yet.
Method 1. Camera RAW Filter
Adobe Camera RAW is an asset enabling you to import RAW images into Photoshop and make simple corrections.
1. Duplicate the Background
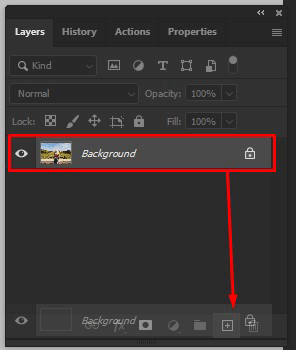
Firstly, this Photoshop tutorial shows you how to duplicate the background of the picture. You need to hold the layer and drag to the square with a plus below the layer board.
2. Convert to Smart Object

Using your right mouse key click on the layer and opt for Convert to Smart Object. It is necessary to correct the layer in further editing.
3. Select Camera Raw Filter
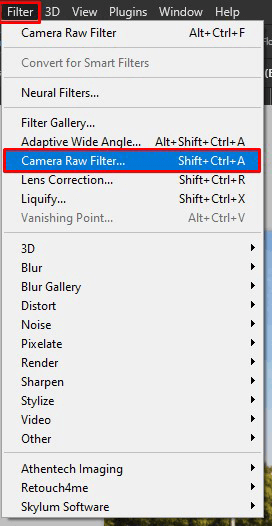
Open the Filter tab and select the Camera Raw Filter variant.
4. Select a Suitable Mode for the White Balance

Having employed the White Balance panel above, please choose a suitable mode for the further editing.
In case the photo was captured by you, and you have a source code, press As Shot, and the you will be able to preserve a color balance in photoshop alongside with other picture settings.
At times, Auto also brings a fruitful result. If it is not satisfactory, you can set a white balance by hand, with the help of Custom mode. Thus, you will need to apply the sliders and fix the Temperature and Tint, responsible for WB.
5. Adjust the Necessary Shade

Take a glance at your image and evaluate the outcome. If the white contains cold shade, you are able to include some warm colors with the help of Temperature and Tint sliders on the right-side menu.
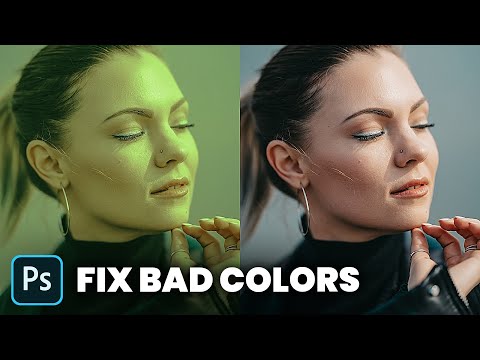
If the skin contains a reddish shade, you can remove it having added greenish shades to another slider. It is fundamental when you are photoshopping portraits.
6. Use Camera Raw Filter for Final Edits

If you decided that the picture has resulted not the way you expected it, you can double click on Camera Raw indicator, and it will open the same window with the last settings, and you will be able to amend it.
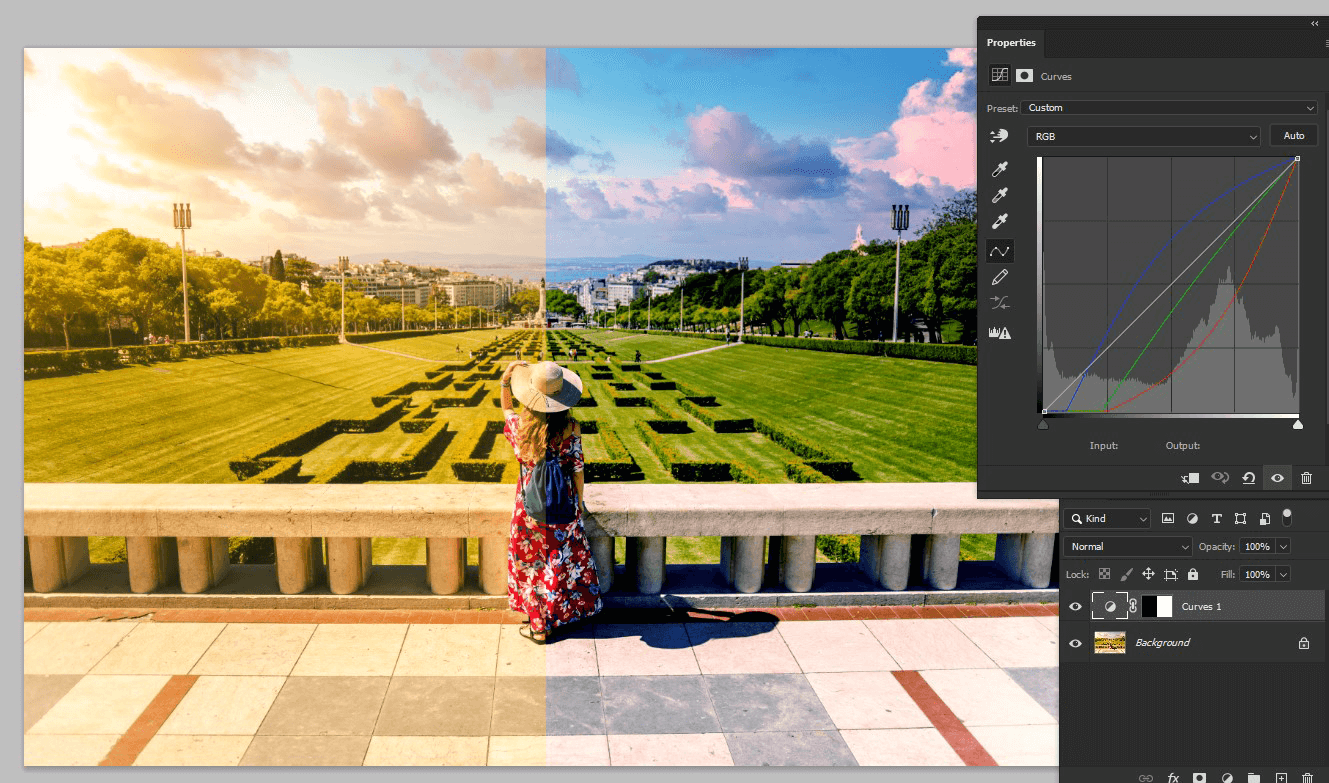
Method 2. Curves
In spite of the fact that the Curves Photoshop tool instrument is mainly thought to be an exposure/contrast adjustment, it can also be deployed for white balance and color amendment.
1. Create New Adjustment Layer
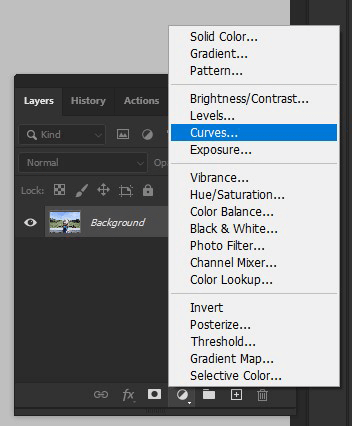
Select Сreate New Adjustment Layer > Curves on the layer menu. As an option, you can employ the Photoshop keyboard shortcuts: Ctrl + M (for Windows) and Cmd + M (Mac).
2. Experiment with Pipette Options
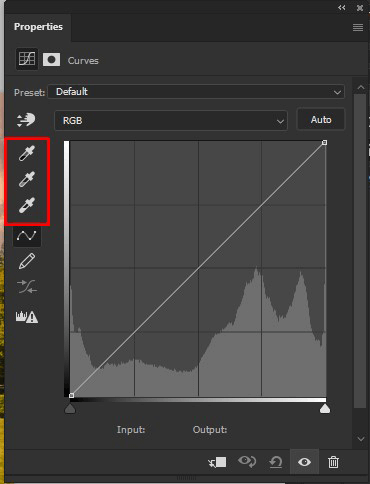
On the left side of the layer board you will see 3 droppers for white balance correction. When you point to each of them, you will see the pop-up hints, which will help you understand what to press and what to do next.
3. Fix the Areas in the Picture

The upper dropper is responsible for the darkest photo areas, the central one – for light shades detection, and the lower one – for the lightest area of an image. Sometimes after you press on that, the colors will change rapidly, and in case they are deformed, you can click several times in one and the same area in order to find the necessary result.
4. Estimate the Result

Estimate the result you received having done only three clicks. If you are okay with that, the process is finished.
However, if the image is a portrait, the skin color may seem unrealistic at times. In that case, you can make use of Photoshop portrait tutorials which you can encounter on the Net as well as on the official Adobe’s site.