

If you want to know how to remove power lines in Photoshop without wasting a lot of time, try using these two simple methods to delete them from your photos. Using these techniques, you can edit even complex images without making them look overly edited.
Method 1. Through Spot Healing Brush
To use this method, you need to have basic Photoshop skills to achieve a perfect result using only one tool.
STEP 1. Open Your Image

Run Photoshop and upload an image that you want to edit. You can import it by clicking on Open or create a New Layer and then drag an image to it.
STEP 2. Create a New Layer
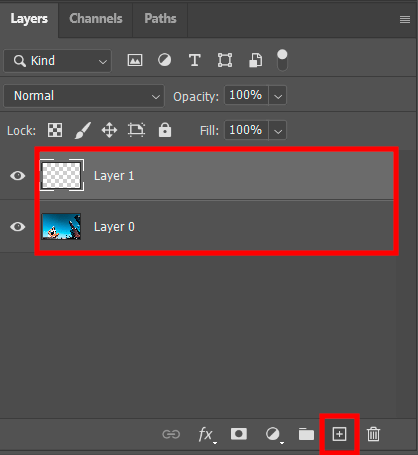
In the Layers panel, click on the “+” icon to add a new layer. You can rename it to your liking. From now on, all your edits will be saved in this layer.
STEP 3. Use the Spot Healing Brush
Then, select the Spot Healing Brush. On the top toolbar, check Sample All Layers. It will help you to ensure that your edits will appear on the blank layer. Adjust the size of the brush so that it equals the size of the power line. You can further reduce it or make it bigger using the left and right brackets.
STEP 4. Paint Over Unwanted Lines
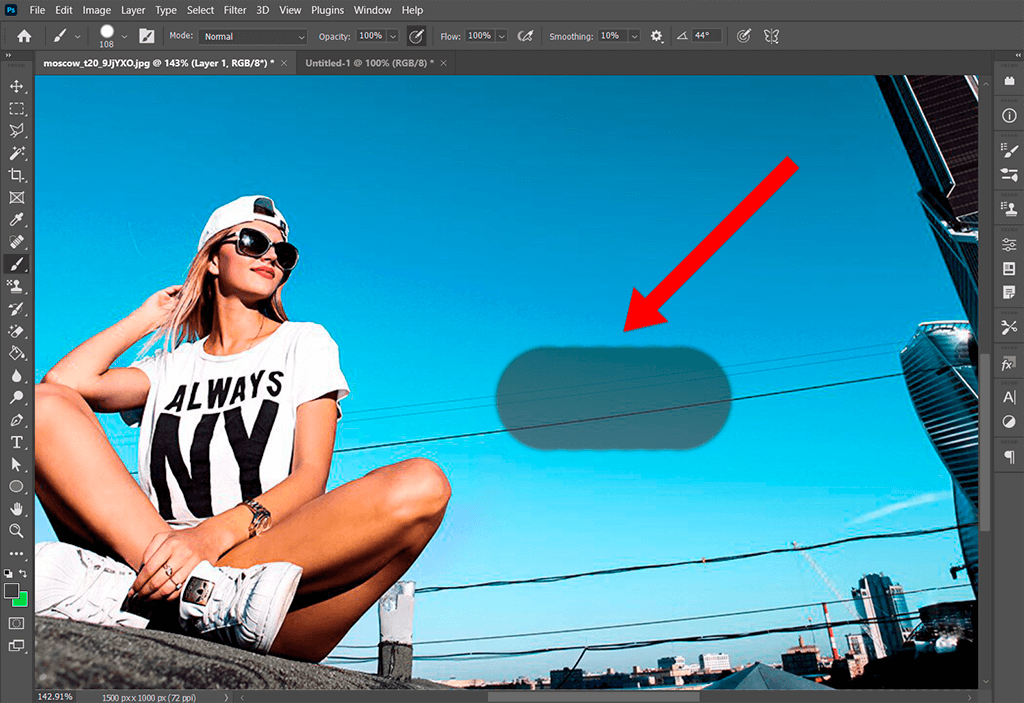
Using Shift Click, it’s possible to quickly create a straight line. This method is suitable for all situations when you want to use brushes. Click on the area that you want to enhance and then hold the Shift key. Then, move the line further to prolong it and click again. You will see a new line between the two points that hides the power line.

When creating a new line, make sure not to Shift Click again since you might draw a line from the previously indicated point. Instead, you need to click and hold down the mouse or the Wacom pen if you use a Wacom tablet. After doing this, the only thing you need to do to remove power lines from photo is to click and quickly release the Shift key.
STEP 5. Draw Over Unwanted Lines in Difficult Areas

This method will also come in handy for those who need to remove clothing wrinkles in Photoshop. When editing the areas that are close to the body or other objects, make sure to use a brush of a smaller size and zoom in on an image. It will make it easier for you to make the necessary edits.
If these manipulations seem to be too complex or if you don’t have enough time, you can outsource this task to professional retouchers. They will help you quickly remove unwanted objects and improve the overall composition of your photo by tweaking colors and fixing the lighting.
Method 2. Through Content-Aware Fill
This technique is suitable for those who want to remove objects in Photoshop regardless of their complexity. You can use it to delete objects with uneven edges even if they are shot against complex backgrounds.
Start editing your picture using automated tools. It will help you speed up your workflow. Then, you can continue editing your photo manually to enhance the most difficult areas and give your images a professional look.
STEP 1. Select the Lasso Tool
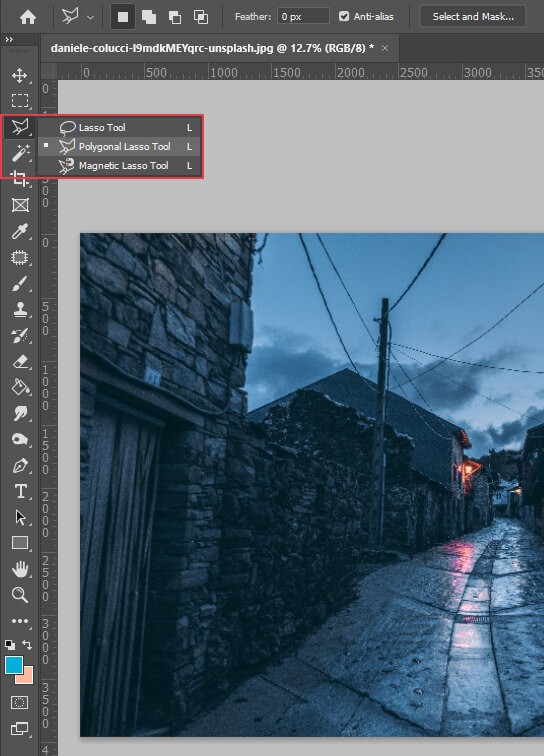
Upload your photo to Photoshop. Then, select the Lasso tool. To apply the Content-Aware Fill, it’s important to select an unwanted object first. With the help of the Lasso, create a selection around the wires and clean up lines in Photoshop.
STEP 2. Select Unwanted Objects

When choosing between different types of the Lasso tool, try using the Polygonal Lasso. It will allow you to create a selection that fits the outline of the object that you want to remove.
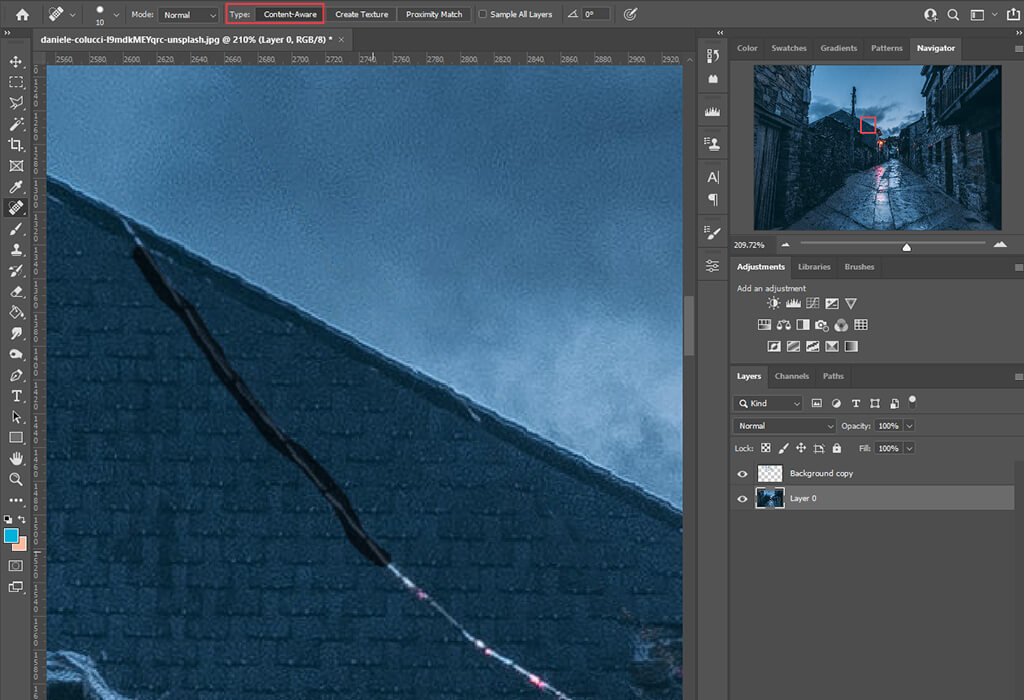
STEP 3. Activate the Content-Aware Fill
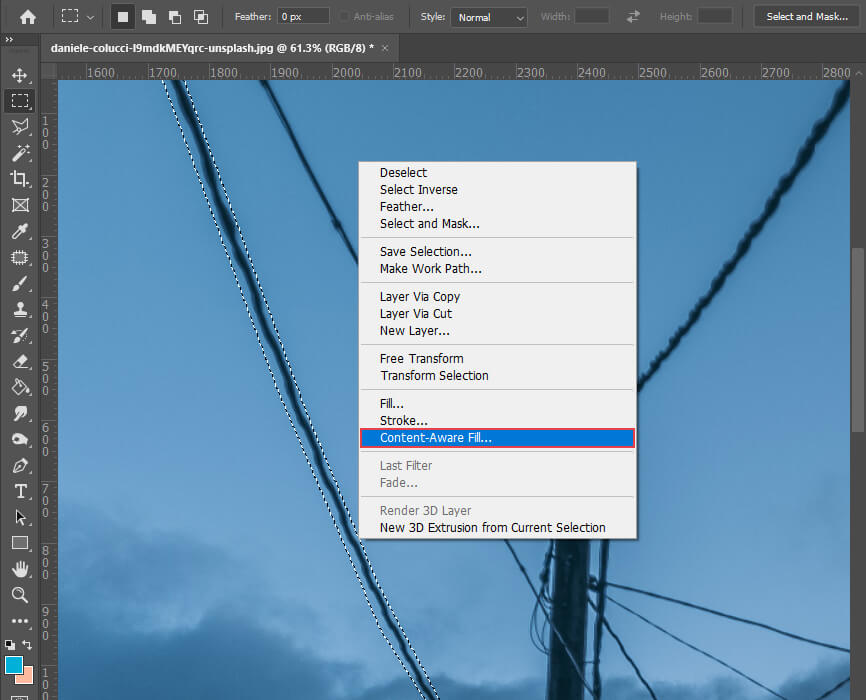
Then, right-click on the photo to open the menu and select the Content-Aware Fill option.
STEP 4. Adjust the Fill Settings

You will see a new window where you can adjust the Content-Aware Fill settings. By experimenting with the available options, you can make subtle edits to ensure that your background looks natural. Pay attention to the Output Settings since you need to apply your edits to a New Layer only. This way, you can enhance your photo without affecting the source image. If you don’t like your edits, you can restore the original photo at any time.

In case your photo has a basic background, it will allow you to quickly edit it and then fine-tune your adjustments with the help of more advanced tools.
STEP 5. Clean Up the Difficult Areas Using the Spot Healing Brush

Select the Spot Healing Brush on the toolbar. It is used for cloning some areas of an image and blending pixels of the selected area with the pixels of the target area.
Remove the objects by selecting them with the help of the brush. Make sure to check whether the Content-Aware Fill option is selected.
STEP 6. Use the Clone Stamp Tool for a Perfect Result
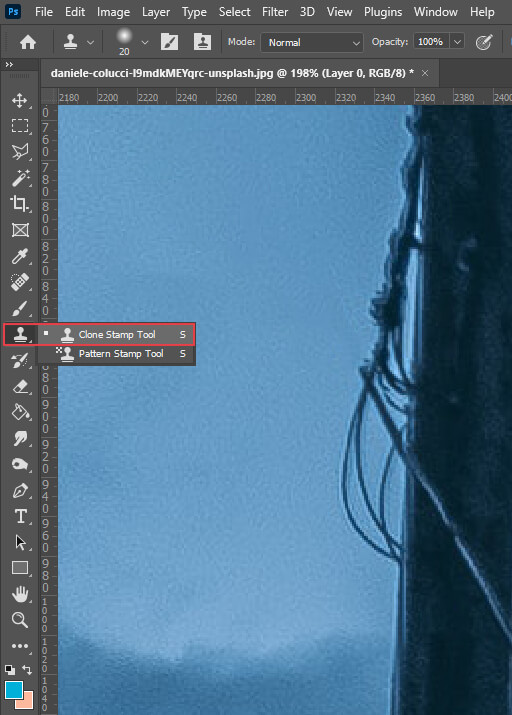
To erase a straight line in Photoshop, go to the toolbar and select the Clone Stamp tool. When editing your photos, you can use it to copy and move any selected area to a new place. To speed up your workflow, make sure to use Photoshop keyboard shortcuts, such as S.
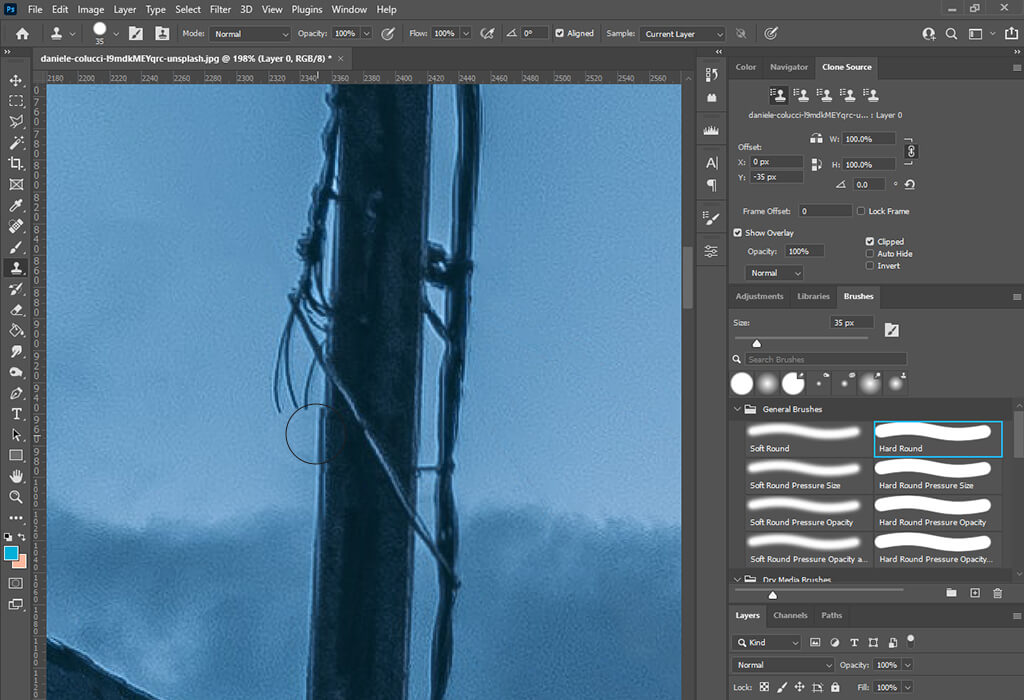
When holding the Alt key, you will notice that your cursor will start looking like a crosshair. Then, left-click on the area that you want to sample. Release Alt and click on the new area that you want to replace with a copied area.

This way, by changing the size of the clone stamp, you can fully remove complex details and achieve the desired result with little to no effort.