

Do you want to learn how to highlight text in Photoshop? Check this guide with different methods of how to cope with this task.
The main function of a highlighter is to focus viewers’ attention on a specific text segment. As Photoshop does not have a special tool for this task, users can try two different methods to achieve the necessary result.
Method 1. Through the Underlines Modifying
You can achieve a highlight effect under the text with a perfect geometric form, you need to modify the underlines created using a copy of the text. This is one of the most popular methods described in Photoshop tutorials and I will show you how it works.
STEP 1. Create a New Working Area in Photoshop
If you already have the background picture you like, import it into Photoshop by dragging and dropping or click the Open button.
If you don’t have such an image, then create a new document by pressing Cmd+N (Mac) or Ctrl+N (Windows). Go to “File” > “Create”. Click New or Start New in the Start workspace. Right-click an open document and choose New Document from the context menu.

STEP 2. Enter the Necessary Text
On the Layer panel, create a new layer. Click on the text icon and type the necessary phrase in a selected font and style. You can achieve a more pronounced effect if you make text bold in Photoshop.

STEP 3. Duplicate the Text
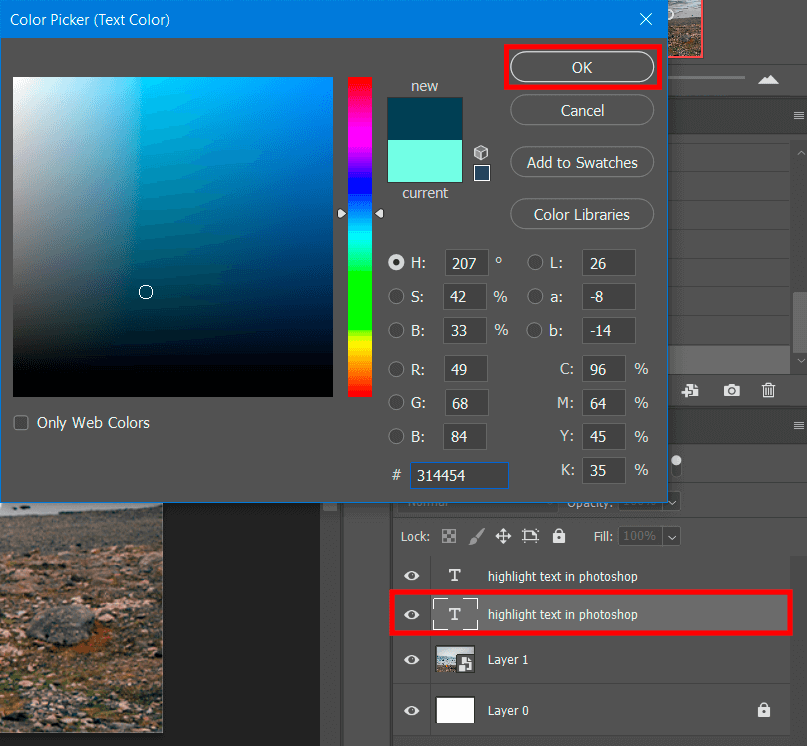
Copy the text on a new layer by pressing the Ctrl + J key combination. Select the color of text using the color palette.
STEP 4. Create an Underline
Highlight the lower part of the text and open Window > Character “Underline”, then choose the “Underline Text” option. This is a fully automatic tool that creates a geometrically correct underline at a balanced distance above and below, as well as on the sides of the text.

STEP 5. Convert the Text Into a Shape
The next step you need to do to highlight text in Photoshop is to convert the text into a shape. Right-click on the layer name and choose the “Convert to Shape” option from the drop-down list. Be careful, as it is impossible to edit the text after such an action.

STEP 6. Use Path Selection Tool
Use Path Selection Tool (A) to highlight the whole text (except underline) and remove text in Photoshop. This way you should only have underlines on the workspace.

STEP 7. Move the Points to the Desired Height
To to end up with the effect commonly found in Photoshop manipulation tutorial use the up arrow key on your keyboard. Move the anchor points up until you get the desired size of a rectangle.

STEP 8. Done
That is! Now you know how to add highlights to text in Photoshop.
Method 2. Through the Rectangle Creation
Another way to add highlight in Photoshop involves creating rectangles behind the text with a different color. However, this method requires great accuracy and professionalism to balance the distance between the text and the sides of a rectangle. It is more time-consuming and requires more effort than the first method. The final choice depends on a user and his/her preferences.
STEP 1. Open the Background Picture
Open any background picture.

STEP 2. Select the Rectangle Tool
Choose the Rectangle Tool on the toolbar and create a rectangle of the desired size and color. I made it white, but you can apply any shade you like.

STEP 3. Create a Rectangle
Locate the rectangle the way you need.

STEP 4. Enter the Text
Select the Text tool from the toolbar. Colorize the text using the Color panel. Choose a color other than that of the rectangle.

Type text anywhere in the workspace.

STEP 5. Center a Text Within the Rectangle
Select the Text layer and the rectangle layer using the Shift key.

Align both elements to the center and horizontally using the auto-align feature in the top bar.

By pressing the Alt key, you can resize the rectangle, making it wider or thinner.

STEP 6. Done
Now you know how to highlight text in Photoshop.