
It often happens that when creating a design, sharp corners in a picture don’t suit your project and you may need to round the edges. Such edges are considered to be more attractive and are often used in logo designs. Rounding corners in Photoshop is very easy, our retouchers have prepared this step-by-step tutorial for those who are faced with such a task.
METHOD 1. Use the Properties Window
This method is suitable for beginners who are just getting started with photo editing software. If you’re having trouble with rounding corners in Photoshop or just want to make a new avatar for your social media account with this effect – this three-step method is what you need.
STEP 1. Open the Settings Menu

When you need to round corners in Photoshop, first open the Properties window. It is hidden by default. Photoshop hides 60% of its interface and features that a beginner won’t often use. To make Properties visible, go to Window – Properties. A window will appear on your right.
STEP 2. Write Rounding Values
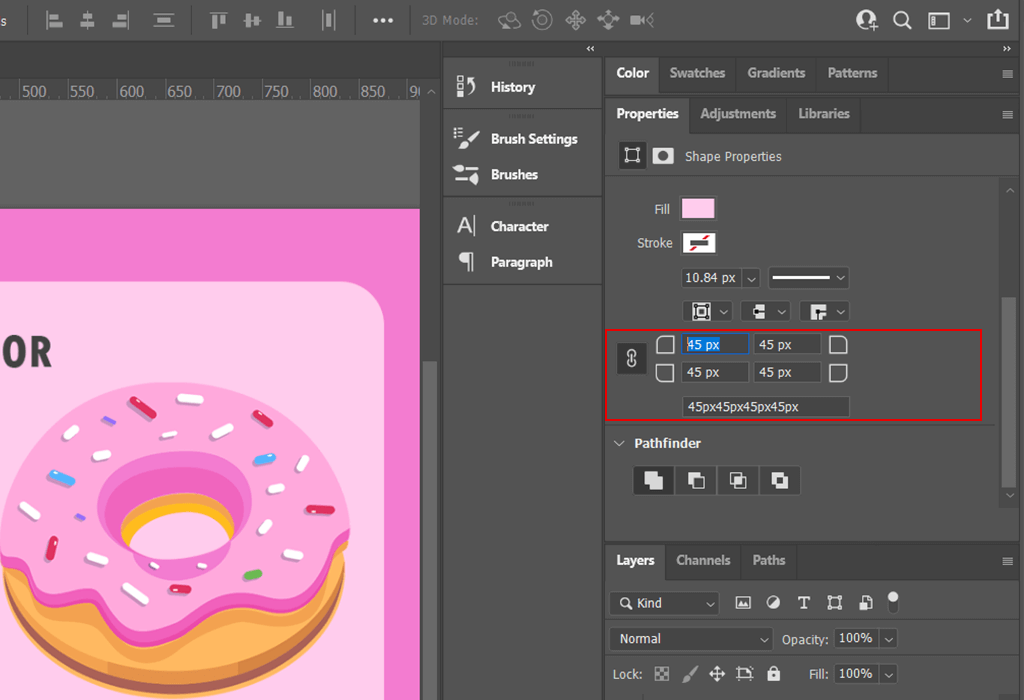
If you have ever used UI design software, the interface of this window will be clear for you. There are four fields in which you can enter the required corner rounding values. You can even make a dialogue cloud equivalent for a comic book just rounding 3 of 4 corners.
If you don’t want to spend time adding the effect you like to your images, or if you want to make something more complex than rounding corners in a photo, order editing services offered by FixThePhoto. Specialists can bring any idea to life promptly.
STEP 3. Add a Stroke if Needed

For certain visuals, you can add a stroke of any color inside your frame. Just click on Stroke and choose any color.
METHOD 2. Use the Modify Tool
The second method to create Photoshop round corners of image is more suitable for designers. It focuses on creating an object with rounded corners, rather than modifying an existing one. Therefore, if you face such a task, read the info below.
STEP 1. Use the Marquee Tool

If you need to create a design for a button, window, or any other object with rounded corners, use the standard Rectangular Marquee Tool, which is located on the left side of the toolbar or is activated by the M button.
STEP 2. Create a New Layer and Draw a Rectangle

Now you need to create an object of the required size. Keep in mind that you can change it later if needed. Just select an area in the workspace using LMB.
STEP 3. Use the Modify Tool

Now, to start rounding corners in Photoshop, you need to click on Select – Modify – Smooth. Unfortunately, there is no handy keyboard shortcut for this action.
STEP 4. Enter Rounding Value

After clicking on Smooth, you will see a window in which you can enter the number of pixels by which you want to round corners in Photoshop. I used 30, but you need to take a few trials before you know the pitch at which you will notice a change.
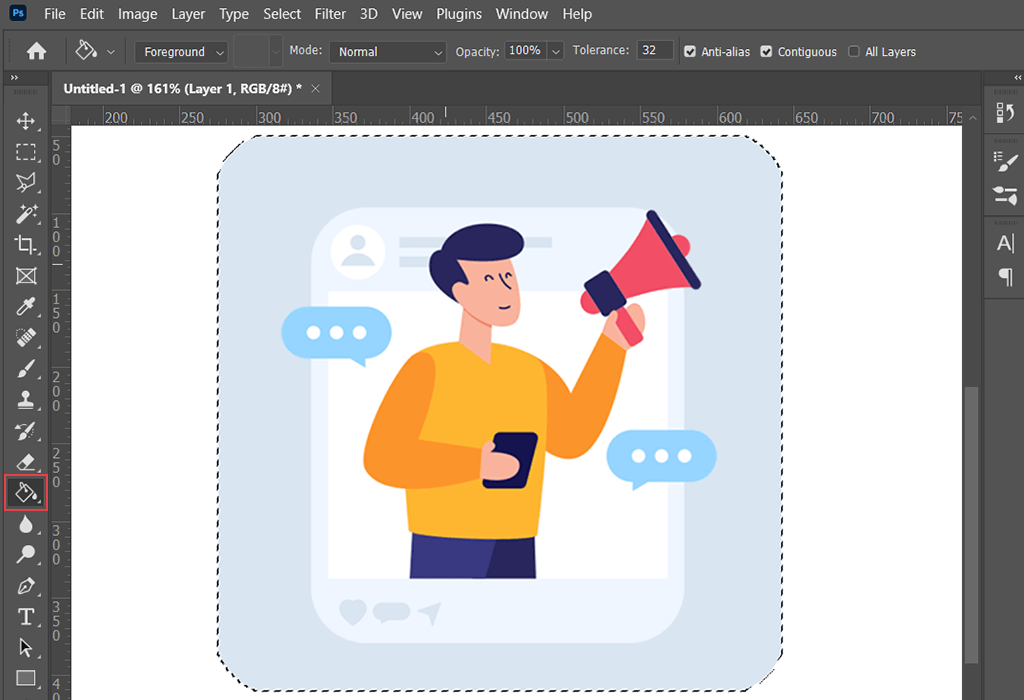
STEP 5. Filling with Any Color

Now you can fill your object with any color using the Fill tool, which you can find on the toolbar, or call it with the G button. Keep in mind, that in some cases this button can activate the Gradient tool.FREE DOWNLOAD