

An embossed effect in Photoshop is useful to see how designs would look after being printed or cut from the stone. This effect allows you to add textures to your designs to give them a three-dimensional look.
It’s especially suitable for logos and icons. The effect is often used by professionals who create design mockups using advanced photo editing software.
If you have never used Photoshop before, keep in mind that you can download it for free. In case you already have this software installed on your computer, you can upgrade it to get access to all the features.
1. Open the Image
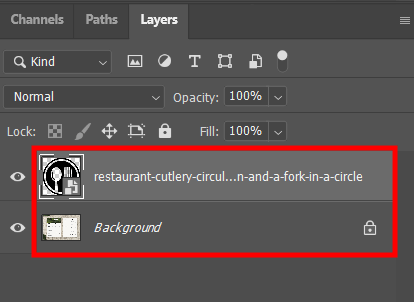
Before applying the Photoshop Emboss effect, import a picture that you want to use as a texture for your embossed logo and add it to the top layer.
Depending on your project, you may also benefit from using a variety of poster mockups.
2. Create a New Layer
Before enhancing an icon with the help of filters, make sure to turn its background white.
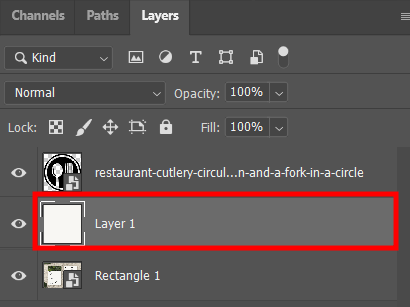
To do this, create a new Layer and move it underneath the layer containing your icon. Creating a New Layer is easy by using Photoshop keyboard shortcuts – Ctrl/Cmd + Shift + N. Then, click on the Rectangular Marquee Tool. It will allow you to put your icon in a rectangle. After doing this, you can fill the rectangle with white color.
As the result, you will get the icon on top of a white rectangle.
3. Convert to Smart Object

At this stage, you need to merge the layer containing the icon with the newly-created rectangle layer. Then, you need to convert the resulting layer into a Smart Object.
Such objects enable you to configure the filter settings or remove the filters altogether without editing the layer itself.
4. Open up the Filter Gallery

Click on the icon Layer to select it and choose the Filter Gallery.
5. Use Spatter Filter

If you want to make the texture look like paper, make sure to apply the Spatter Filter. Then, you need to change the settings to your liking until you are fully satisfied with the Embossed effect Photoshop.
6. Remove White Background

After adding this effect, make sure to remove white background in Photoshop. In a few clicks, you can delete the background behind the icon.
Open the Select menu and then click on Select Color Range.
7. Choose Black Color
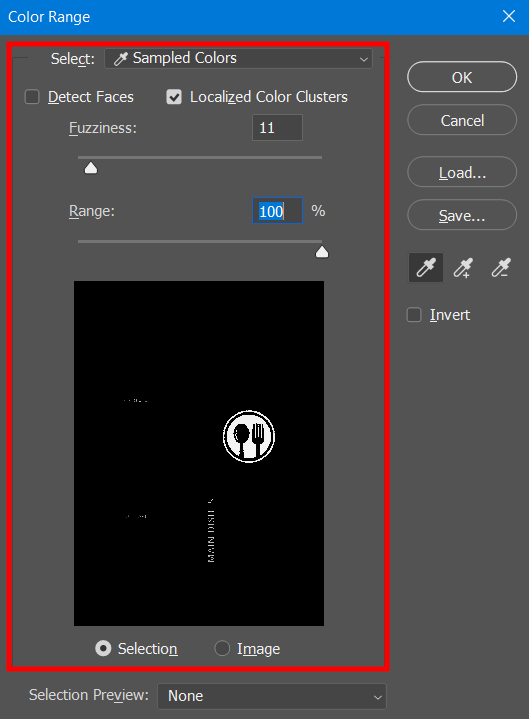
Select the black color and change the settings so that the icon is selected. It should be fully separated from the white background.
8. Create New Layer

Make the icon layer invisible, then, create a new layer. When you do it, the selection should remain active. Then, use the black color to paint the selected area.
9. Hide the Black Fill Color
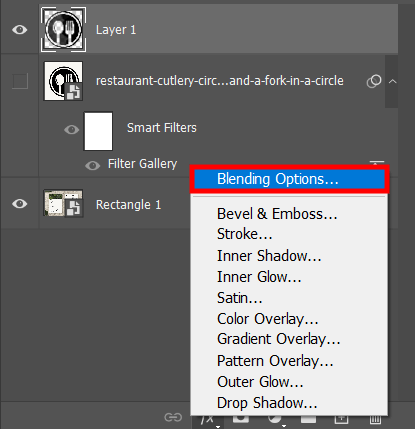
Double-click on the Layer containing the icon and click on Layer Styles. Start by making the black fill color of the icon invisible. You need to go to Blending Options and select the Advanced Blending menu.
10. Set the Fill Opacity

Select the Fill Opacity option and set its value to 0%.
It will allow you to make the fill color of the layer invisible. At the same time, Layer Styles will remain unaffected.
11. Click on the Bevel & Emboss Tab

The next thing that you should do is go to the Photoshop Bevel and Emboss tab. The program will add the Bevel & Emboss effect. All the settings will be set to their default values.
12. Adjust the Settings
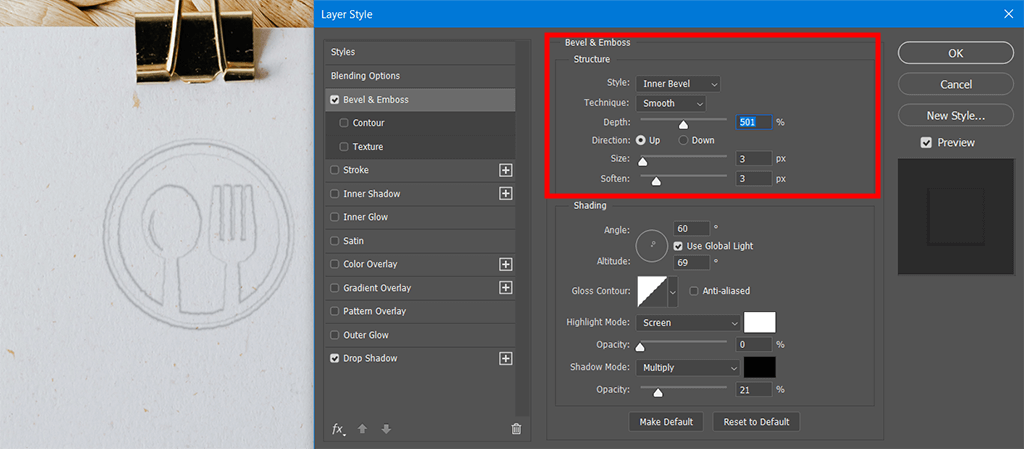
When applying the emboss effect, it’s crucial to pay attention to the highlights and shadows. They should look similar to the highlights and shadows in other parts of your photo.
If you aren’t fully satisfied with the result, change the settings until the effect looks as realistic as possible.
13. Enhance the Effect

To give the image a professional feel, add a barely noticeable drop shadow to the icon. If you can’t find this option, go to the Layer Styles menu and select Drop Shadow.
In case you don’t know how to enhance your logo even further, you can use a variety of creative graphic design ideas to make your project more attention-grabbing.
14. Use Gaussian Blur

While the effect already looks quite cool, it doesn’t fit well with the unedited part of the picture.
To make it look as if the logo was indeed printed on the paper, make the edges softer by using a light version of Gaussian Blur. After applying it, you will see that the logo fits much better.
15. Add Texture
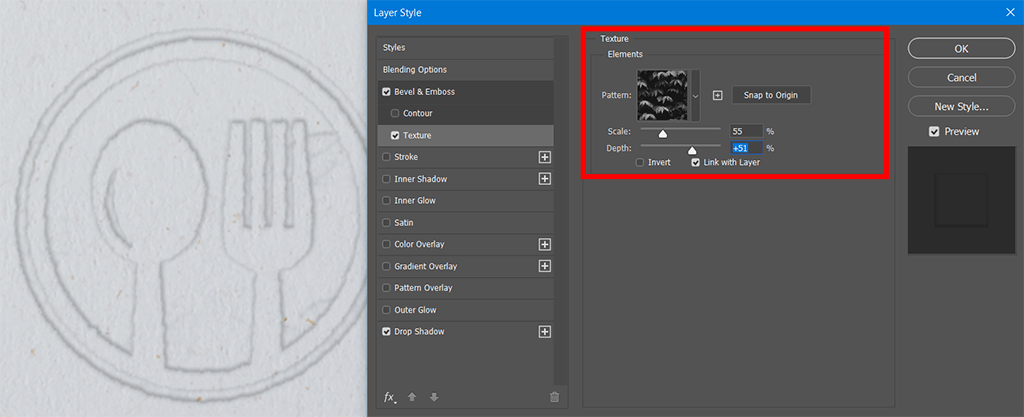
If you want to further improve the interior areas of your icon, click on the icon Layer to select it and go to the Layer Styles window
Go to the Bevel & Emboss tab and click on Texture. For my project, I decided to select one of the textures available in Photoshop by default. It’s called the Grass.
In case you want to use professional-quality textures to give your designs a unique feel and add Photoshop Embossed text, use the free textures from this collection. You can easily customize them to your liking and group them into different collections united by a specific theme.
16. Add Additional Design Elements
As I applied this effect using Layer Styles, I can quickly add other elements with the same settings by following the steps described below.
The program allows you to add shapes and objects to the layer that you enhanced with the help of other effects. Alternatively, you can create a new layer and create copies of Layer Styles.
Keep in mind that you need to add the texture from the Filter Gallery to any element that you want to enhance.

In case you want to apply the embossed effect to text, logo, or other brand elements but aren’t sure whether your skills will suffice, you can outsource this task to professional retouchers. They will tweak colors, create a clipping path, remove or replace the background, delete unwanted objects, and perform other tasks.